


10 Plumbing Features to Include in Your Home Floor Plan

Are you building a new home or planning a major renovation?
Before choosing paint colours or interior finishes, it's worth thinking about your plumbing layout. The decisions you make now can affect future maintenance and the overall functionality of your home. Many older homes weren't designed with today's expectations for water efficiency, accessibility or future renovations.
In this guide, we'll cover 10 plumbing features to include in your home floor plan that can improve water efficiency, simplify future maintenance and support future renovations.
Why Include Plumbing in Your Floor Plan?
Before finalising your floor plan, discuss the plumbing plans for house design with your builder and licensed plumber. Planning these details early can help reduce changes during construction and support a more efficient plumbing installation.
Location of the main water connection
Planned route for water and drainage pipes
Access to important plumbing points for future repairs
Stormwater and wastewater drainage plan
Outdoor plumbing needs, such as taps or irrigation
Water-efficient fixtures for bathrooms, kitchens and laundries
Once you've discussed the overall plumbing layout, it's time to look at the individual features that can improve how your home functions both now and in the future. The following 10 plumbing features are worth considering before you finalise your home floor plan.
1 Keep Your Wet Areas Close Together
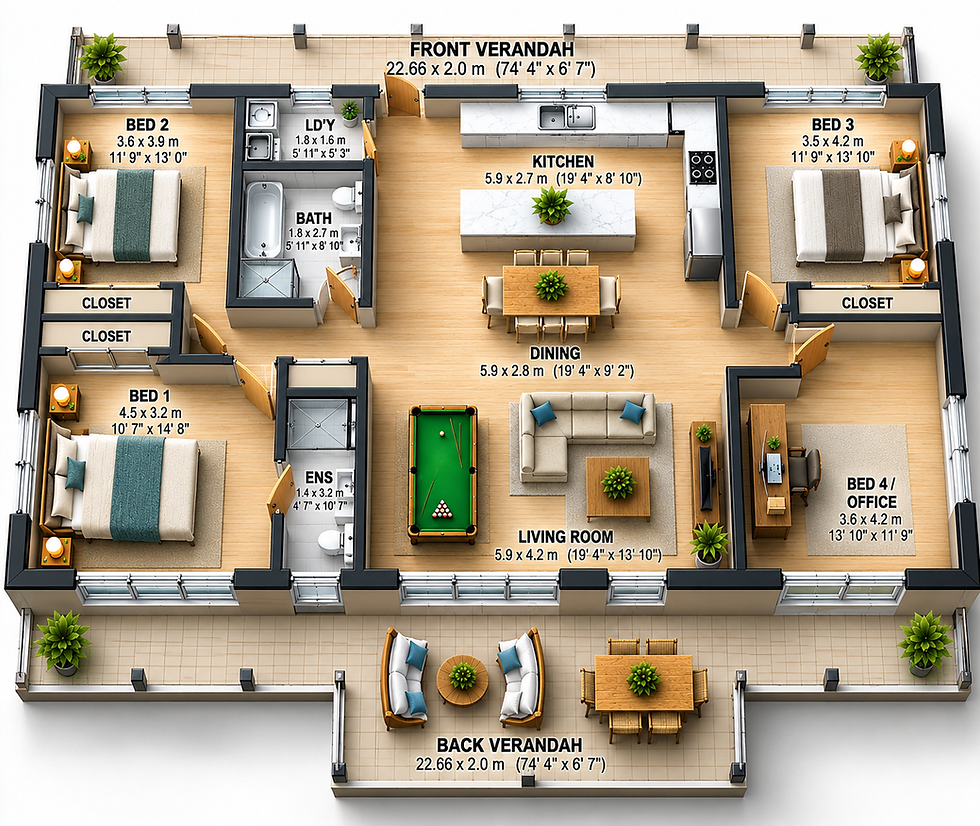
If you keep your kitchen, bathrooms and laundry close together, you can reduce the amount of pipework needed throughout your home. Shorter pipe runs also mean hot water doesn't have to travel as far to your taps and showers, helping you waste less water while you wait and making future plumbing repairs easier.
2 Place Hot Water System Near Wet Areas
If your hot water system is located a long way from your kitchen or bathrooms, you may spend more time waiting for hot water to reach your taps and showers. This can increase water wastage over time. It's also important to allow enough space for installation, servicing and future replacement.
Depending on the type of hot water system you choose, you may need to allow for ventilation, drainage or manufacturer clearance requirements when finalising your floor plan.
3 Add Isolation Valves to Fixtures
Isolation valves are small shut-off valves that let you turn off the water supply to a specific fixture in your home without shutting off the water to your entire property. Common examples of isolation valves include:
Mini stop valves for taps and toilets
Ball valves for larger water lines
Appliance isolation valves for dishwashers & washing machines
If a tap or toilet develops a leak, you can use its isolation valve to stop the water supply to that fixture. For example, a mini stop valve found beside a toilet can be closed by turning its handle clockwise until it stops. When reviewing your floor plan, make sure isolation valves are easy to reach and aren't hidden behind permanent cabinetry or other fixtures.
4 Separate Sewer and Stormwater Drainage
Connecting stormwater to the sewer can send large volumes of rainwater into infrastructure that wasn't designed to receive it. During heavy rainfall, this can overload the sewer system and increase the risk of wastewater backing up through your toilets, shower drains, floor drains or other low-lying drainage points in your home, creating unpleasant odours and contamination.
Brisbane City Council specifically states that connecting stormwater drains to sewerage infrastructure is illegal and impedes the operation of the sewerage system.
5 Include Access Panels for Hidden Plumbing
Plumbing access panels are removable covers that give you or a plumber access to concealed pipes, fittings and connections without cutting into a wall or ceiling. The right location depends on what needs to be accessed. For example, you may need an access panel behind a bathtub, in a utility room or in a ceiling where plumbing may require future access.
Access Panel Type | Best Use |
Drywall inlay panels | Designed to blend in with the surrounding wall or ceiling finish. |
Metal access panels | More durable option where a stronger panel is needed. |
Plastic access panels | Lightweight option for general indoor areas. |
Choose the panel type based on its location and how often you'll need access. Avoid placing access panels behind fixed cabinetry, mirrors or other permanent finishes that would block access.
6 Add Outdoor Taps and Water Connections
Plan outdoor taps and water connections based on where you'll use them. Place them near gardens, driveways and outdoor entertaining areas so you have direct access to water without relying on long hoses. Consider these areas when reviewing your floor plan:
→ Add a tap nearby for washing your car, cleaning tools or hosing down outdoor surfaces.→ Position taps where you can easily connect a hose without running it across paths.→ Allow for hot and cold water connections and drainage if you're planning an outdoor kitchen.→ Consider a nearby water point for filling, topping up and cleaning your pool.
Roughing in water and drainage during construction gives you the connections you need for future outdoor features without having to remove paving, walls or landscaping.
7 Choose WELS-Rated Fixtures
When selecting taps, showers and toilets for your home, check the WELS star rating and water consumption of each product. Australia's Water Efficiency Labelling and Standards scheme rates products based on their water efficiency, with higher star ratings indicating better water efficiency.
WELS-rated taps and showerheads can reduce both water and hot water use. Using less hot water also reduces the energy required for water heating, helping lower your home's overall water and energy consumption.
8 Add Plumbing Points for Future Upgrades
If you're planning a second bathroom, outdoor kitchen, granny flat or laundry upgrade, include the required plumbing points during construction. These can include capped hot and cold water lines and drainage connections ready for future fixtures.
A future bathroom with a toilet, basin and shower requires water supply and drainage connections for those fixtures. An outdoor kitchen with a sink requires water supply and a waste connection, with hot water included if you want both hot and cold water at the sink.
9 Add a Rainwater Tank Connection
If you plan to use rainwater, include the tank and its plumbing connections in your home design. Allow enough space for the tank, pump, pipework and maintenance access, and consider how the downpipes will connect to the tank. If you want to use rainwater inside your home for suitable non-drinking purposes, such as toilet flushing or washing clothes, dedicated rainwater pipework needs to be planned separately from the drinking water supply.
10 Include a Water Filter Connection
If you want filtered water in your new home, where the system will be installed before finalising the plumbing layout. A kitchen drinking-water filter only needs to serve a dedicated tap or mixer, while a whole-house filtration system is installed on the incoming water supply so it can filter water before it reaches outlets throughout the home.
For a whole-house system, allow a suitable location for pipework, isolation valves and servicing space. The system needs to remain accessible so cartridges or filters can be changed without removing cabinetry or other permanent finishes.
Tips Before Finalising Your Floor Plan
The QBCC notes that homeowners involved in building disputes often wish they had documented changes and decisions. Before approving your floor plan, review the plumbing details carefully and check that they appear correctly in the plans and specifications. Before you approve your plans:
→ Put all agreed plumbing changes in writing.
→ Include plumbing connections for planned future upgrades.
→ Confirm all fixtures, fittings and plumbing features are included.
→ Raise any concerns about plumbing locations before construction begins.
→ Keep a copy of your approved plans and specifications.
Clear plans and written variations give both you and your builder a record to refer to if a disagreement arises during construction.
Build With the Right Plumbing Layout
Including the right plumbing features in your floor plan can give you a home that provides convenient access, prepared for repairs, upgrades and future additions. If you're about to build, consider how you'll use your home in five or ten years, including outdoor areas, additional bathrooms, water-saving systems or other upgrades. The planning stage is your best opportunity to include these plumbing features before the build is complete.

Comments